

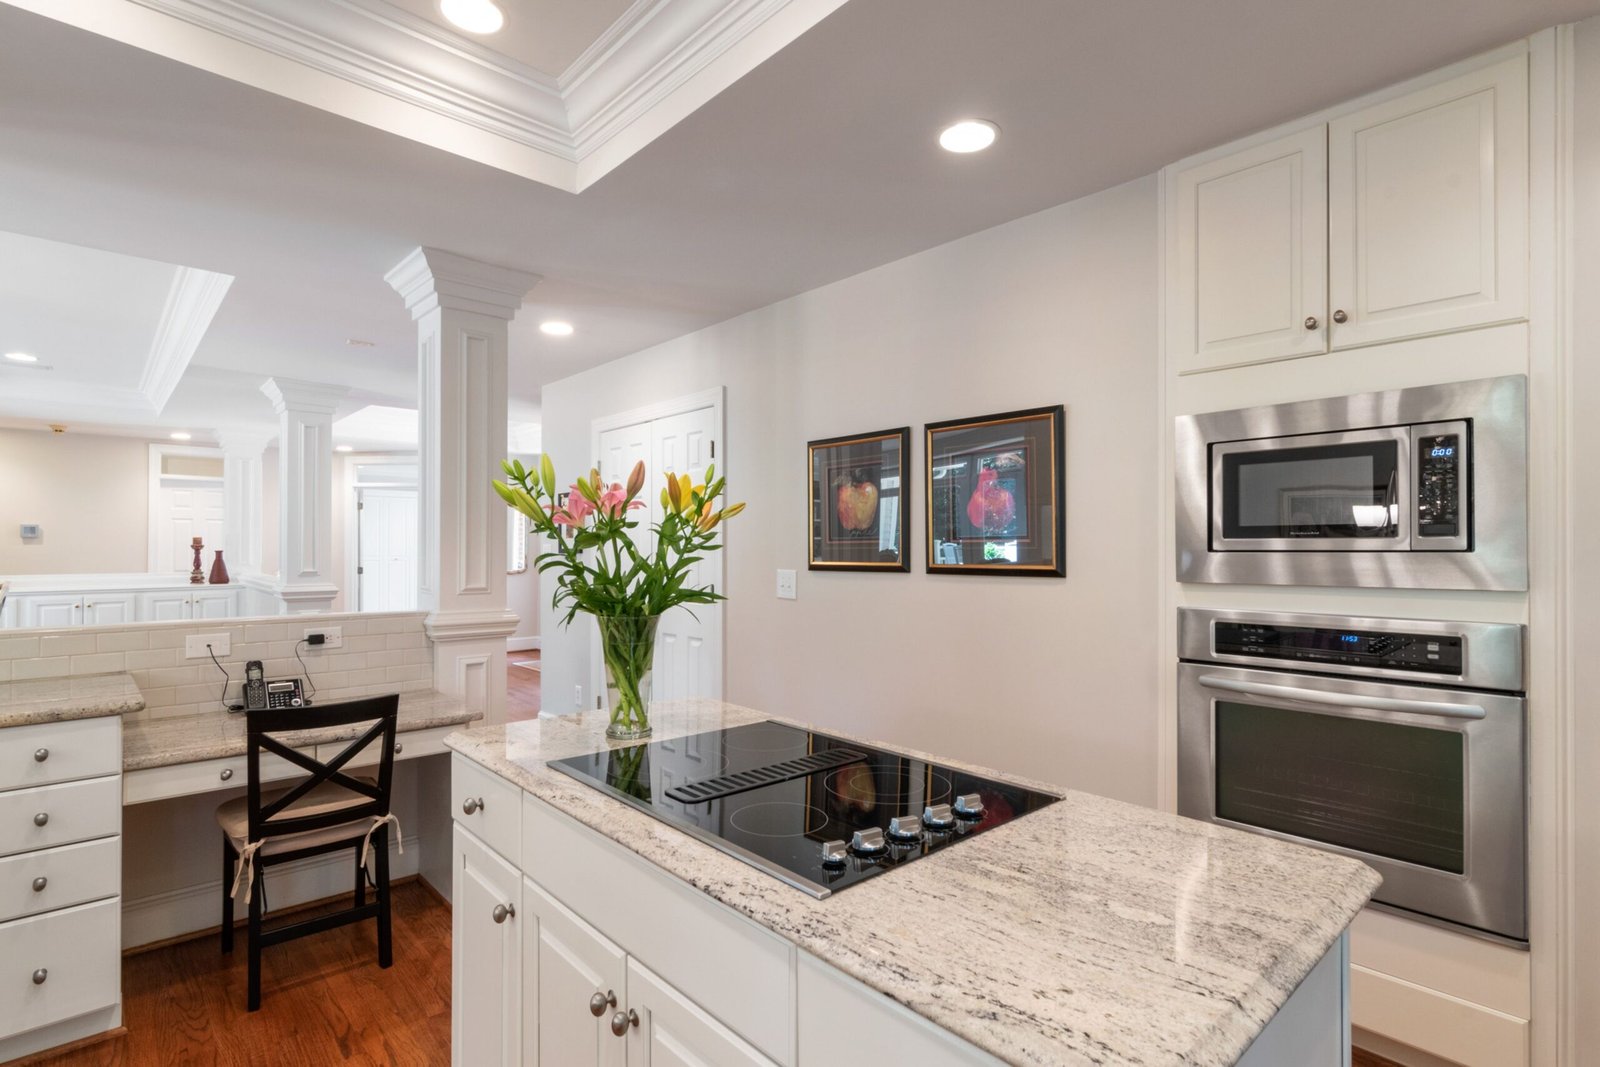
How to Plan Downlights in an Australian Renovation A renovation is the cheapest time to get the lighting right. Once the plasterboard is up, moving a downlight means a new hole and a visible patch, so plan the lights with the kitchen layout, bathroom zoning and insulation, not after the electrician is asked to “just […]
How to Plan Downlights in an Australian Renovation
A renovation is the cheapest time to get the lighting right. Once the plasterboard is up, moving a downlight means a new hole and a visible patch, so plan the lights with the kitchen layout, bathroom zoning and insulation, not after the electrician is asked to “just put a few lights in”. This guide covers room planning, spacing, wet-area and insulation ratings, and a typical 2026 budget in Australian dollars.
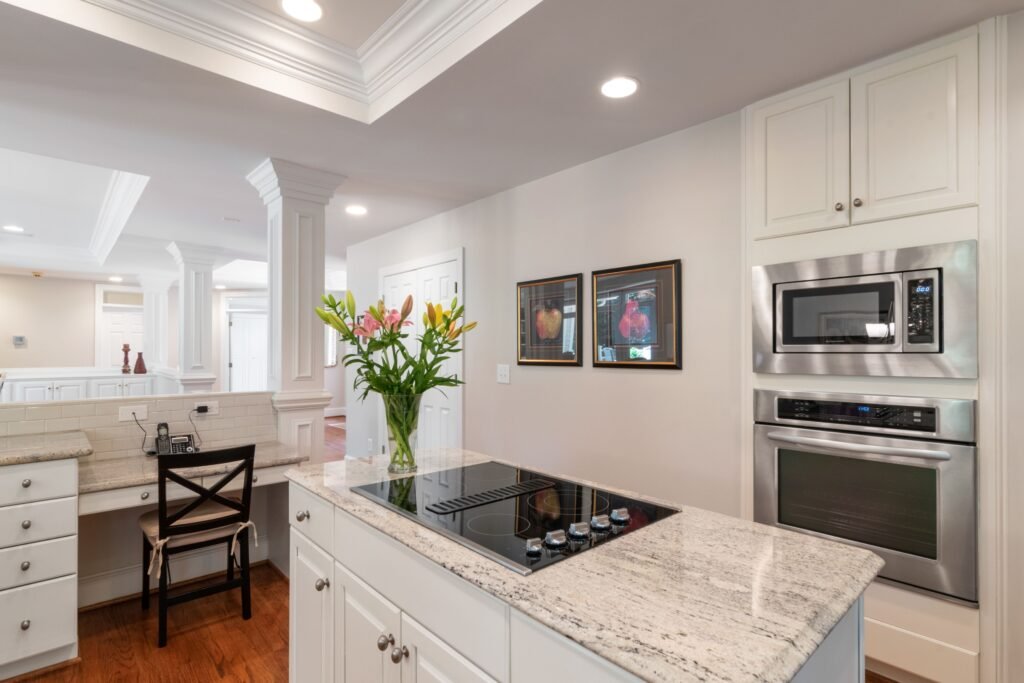
Start with the rooms, not the catalogue
Begin with activities, not product names. Note where people cook, wash, read, watch television or walk through. Downlights work well when they light the surfaces you actually use, and poorly when they are spaced in an even grid with no regard for furniture.
A simple brief might look like this:
· Kitchen: even light on benches, the sink and the cooktop, plus a dimmable scene at the island.
· Bathroom and ensuite: clear light at the vanity, comfortable light in the shower, and no bright points in the mirror.
· Living, dining, bedrooms and hallways: softer, dimmable general light, with enough light at robes and stairs.
· Laundry: functional, even light, with a suitable IP rating if it is a wet area.
Write the brief in plain language and give it to your builder and licensed electrician together.
Spacing, beam angle and ceiling height
There is no single legal spacing for residential downlights. A common rule of thumb in a room with a 2.4 m ceiling is to start with lights roughly 1.2 m to 1.8 m apart, then tighten the grid over benches and loosen it in circulation spaces. Wider beams cover more floor area; narrower beams, often around 40°, suit task areas and reduce glare, but leave darker gaps if you space them like floodlights.
Think in plan and in section. A fitting placed directly over a cook’s head will shadow the chopping board; a fitting slightly in front of the bench usually works better. In a bathroom, avoid a downlight immediately above a mirror, which can create a bright patch in the glass; lighting slightly in front of the person is usually more flattering.
Keep clearances in mind before you lock the grid: rangehoods, ceiling fans, exposed beams, air-conditioning outlets and smoke alarms all need space, and your electrician will confirm the required distances. In a raked ceiling, a fixed downlight may throw light down the slope rather than onto the floor; a tiltable fitting can correct that if the source stays hidden from normal viewing positions.
Colour, dimming and how the room will be used
Colour temperature is measured in kelvin. Around 2700K is a warm, lamp-like light; 3000K is a widely used warm white in Australian homes; 4000K is cooler and can help in a kitchen or laundry. In an open plan renovation, one colour throughout the connected spaces usually looks calmer than mixing 3000K in the living room with 4000K in the kitchen.
Colour rendering (CRI) describes how faithfully colours appear. A higher CRI is worth specifying at vanities and kitchen benches, where skin tone and food matter. LED downlights also need a compatible dimmer, typically a trailing-edge type for many residential drivers. An old halogen dimmer often causes flicker or buzzing, so budget for the dimmer and keep the same family of fittings on one dimmed circuit where you can.
Insulation, IC-4 ratings and the roof space
Most Australian renovations either add ceiling insulation or disturb what is already there. Recessed downlights punch holes in that thermal layer and also produce heat that must be managed.
Recessed luminaires must be installed with the clearances specified for that fitting, or be rated for insulation contact. An IC-4 luminaire is designed so building insulation can abut the sides and cover the fitting, with no clearance. That is the practical choice for most insulated residential ceilings, because it avoids leaving a ring of uninsulated roof space around every light. IC-4 fittings are generally not intended for loose-fill insulation; follow the manufacturer’s instructions.
If a fitting is not IC-rated, insulation must be kept back by the stated clearance. Those gaps waste heat in winter and can become a fire risk if someone later pushes the insulation back over the fitting. A “fire-rated” label from another market is not a substitute for an Australian insulation classification; the two tests are different. Ask to see the rating mark on the fitting or in the installation sheet.
Wet areas and IP ratings
Bathrooms, ensuites and some laundries are classified into wet-area zones. The electrician sets the zones on site from the bath, shower and any fixed screens.
Zone 0 is inside the bath or shower tray and is not a location for a downlight. Zone 1 sits above the bath or shower; the minimum water protection is IPX4, and many electricians prefer IP65 directly above a shower rose. Zone 2 extends about 0.6 m around Zone 1 and also requires at least IPX4. Beyond those zones, there is no mandated IP rating, but steam still reaches the ceiling, so IP44 or better is a sensible default.
Many recessed downlights carry a split rating, such as IP65 below the ceiling and IP20 above it. The wet-area protection applies to the face of the fitting once it is installed; the driver and the body in the roof space may still need to be kept dry. Kitchens are not zoned in the same way, but a higher front IP rating is still useful near a sink or cooktop.
What to budget in AUD
Prices vary by city, ceiling type and whether you are opening a new hole or swapping a fitting. The figures below are typical 2026 market ranges, inclusive of GST, and should be treated as a rough guide rather than a quote.
Installed by a licensed electrician, a like-for-like LED replacement in an existing hole often lands at roughly $50 to $100 per light. A new position on an existing lighting circuit is more commonly around $90 to $180 per light, including a mid-range fitting. Premium dimmable or IC-4 fittings, difficult access, concrete ceilings or a raked roof can push the figure higher, and a call-out or minimum charge of roughly $80 to $150 is common.
Other allowances include an LED-compatible dimmer, often roughly $90 to $200 installed, and a new lighting circuit if the existing one is full, which can add several hundred dollars and in some jobs roughly $300 to $700 or more. A kitchen and adjoining living area with eight to twelve new downlights often lands in the low-to-mid thousands of dollars. Get a written quote against a marked-up plan; the fitting is usually a modest part of the installed cost, so a dimmable, IC-4, appropriately IP-rated luminaire with a long warranty is often cheaper than later callbacks.
A planning sequence that works with your electrician
1. Draw a furniture and joinery plan, including island benches, the vanity, the shower and open-plan sightlines.
2. Mark light points on the ceiling plan, then look up from the positions where you will stand or sit.
3. Note ceiling type, roof access, existing insulation and any wiring constraints.
4. Agree colour temperature, dimming and, in wet areas, the IP rating for each point.
5. Specify the insulation classification, typically IC-4 in an insulated residential ceiling, for every recessed fitting.
6. Confirm cut-out sizes if you are reusing holes, and the depth available for the driver.
7. Have the electrician price the work, including dimmers and any switchboard changes, and issue a certificate of electrical safety when the job is complete.
In every state and territory, installing or replacing a downlight is fixed electrical work and must be done by a licensed electrician, who also checks zoning, insulation clearances and circuit protection on site.
Choosing fittings that will last
Once the layout is settled, compare fittings on the installation data rather than on a photograph. Check ceiling cut-out and depth, beam angle, dimming type, front and above-ceiling IP ratings, the insulation classification, colour-temperature options, and the warranty on both the LED module and the driver.
A manufacturer’s LED downlight range can be a practical place to compare those variables slim or standard depth, fixed or tiltable, different beam angles and control types provided you then confirm that the exact model suits Australian insulation and wet-area requirements. A-ONE LED, for example, is an OEM/ODM manufacturer of recessed downlights, and its published specifications should be read model by model rather than assumed across a whole collection.
Look for a warranty that covers the complete luminaire, including the driver; five years on both is a solid benchmark. Keep the model number and dimmer type with your renovation records. Plan the holes before the ceiling is closed, and treat the fitting as a long-term component rather than a finishing afterthought.
Author bio
Luke Huang is General Manager of A-ONE LED Lighting Co., Ltd., an OEM/ODM manufacturer of LED downlights and commercial lighting based in Dongguan, China. The company was founded in 2008 and operates a factory of about 6,000 square metres with around 150 staff.
